Prism Cloud is only available with eligible subscriptions and in specific regions. |
Groups provide the ability to quickly and securely share content published to Prism Cloud with a specified list of workspace members. The way it works is pretty simple: create a group and give it a name, add other workspace members to the group, share a private folder with the group. Members of the group will be able to view projects published into the shared folder. Importantly, access to the shared folder via the group is updated automatically with the group roster. If a new user is added to the group, they will be able to access the shared folder. If an existing group member leaves the group, they will also lose access to any folders shared with the group (unless the folder has been shared with them directly, or if they belong to another group that the folder has also been shared with).
Creating a group
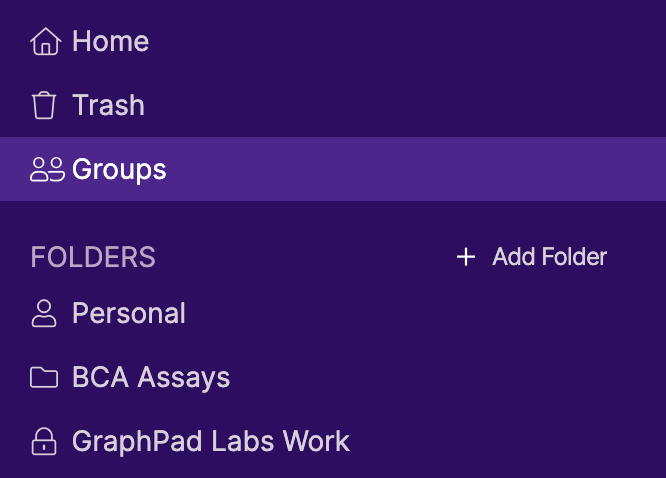
To get started, click on the "Groups" tab in the Workspace section of the Prism Cloud navigator.
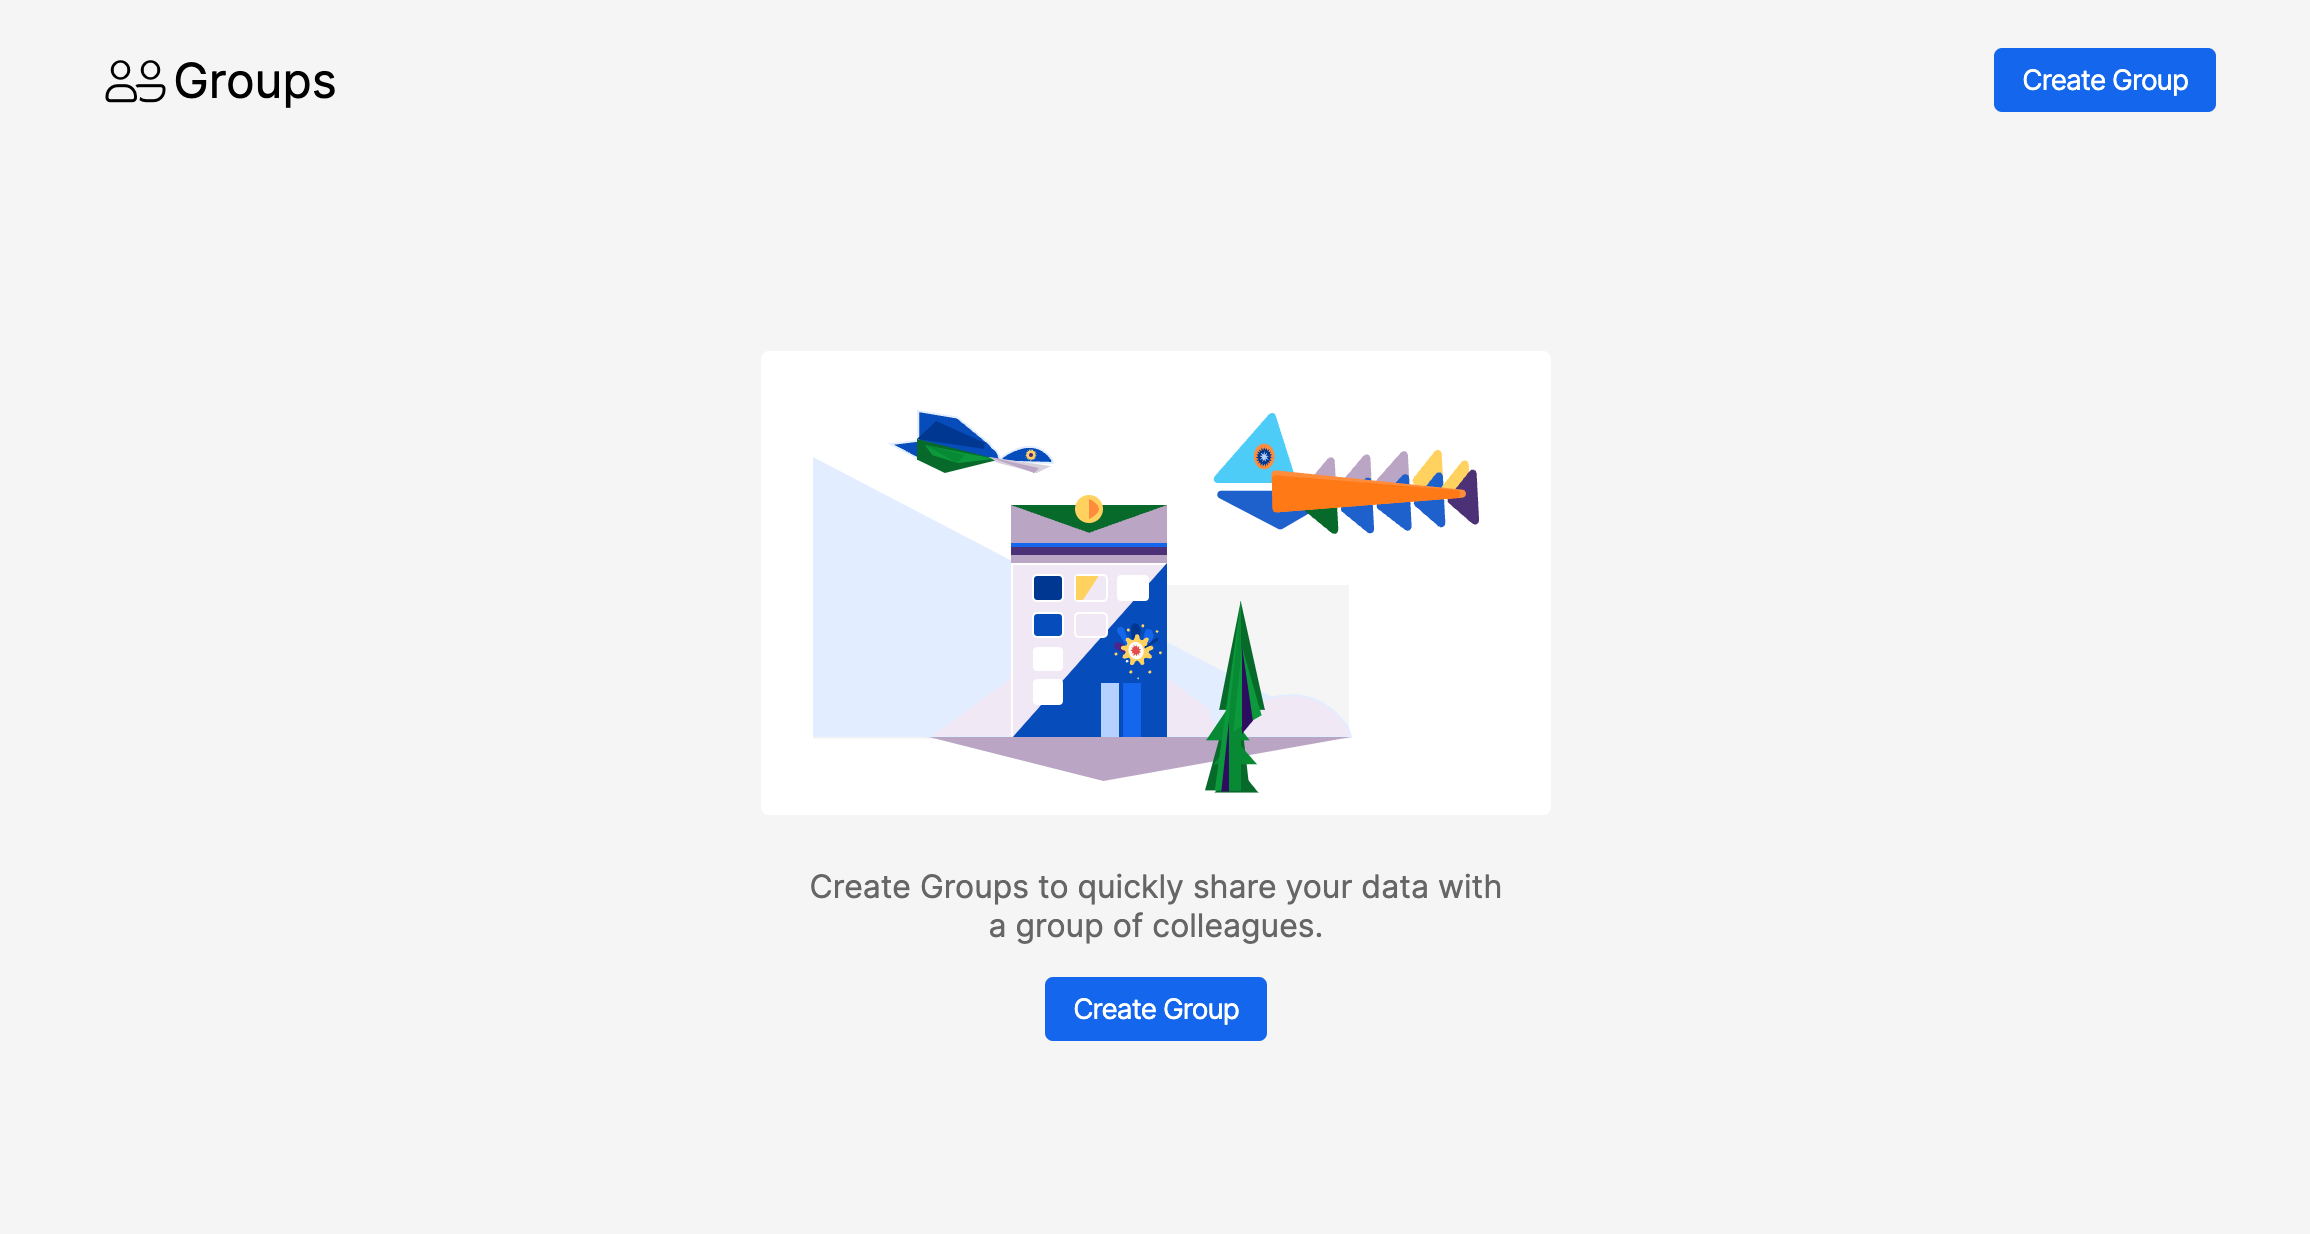
From here, you'll see the Groups main page. If no groups are yet created, click the "Create Group" button to start your own group.
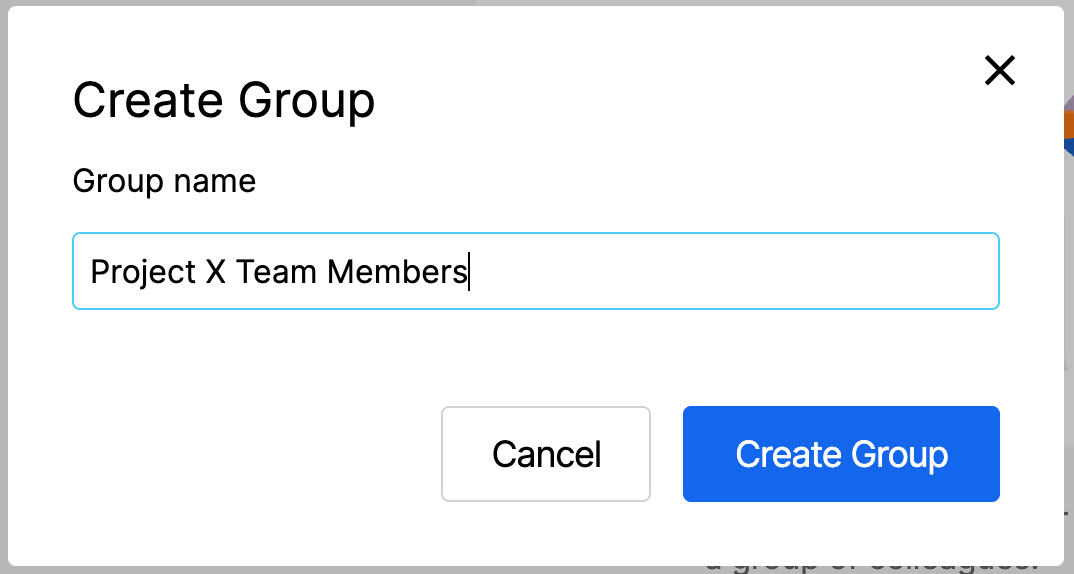
Give your group a name, then click "Create Group"
The group will be created, and you'll be returned to the Groups main page. Now you'll see your newly created group (along with any others) listed. Now you're ready to add workspace members to your group, view folders that have been shared with the group, or add a custom avatar for your group.
Adding Group Members
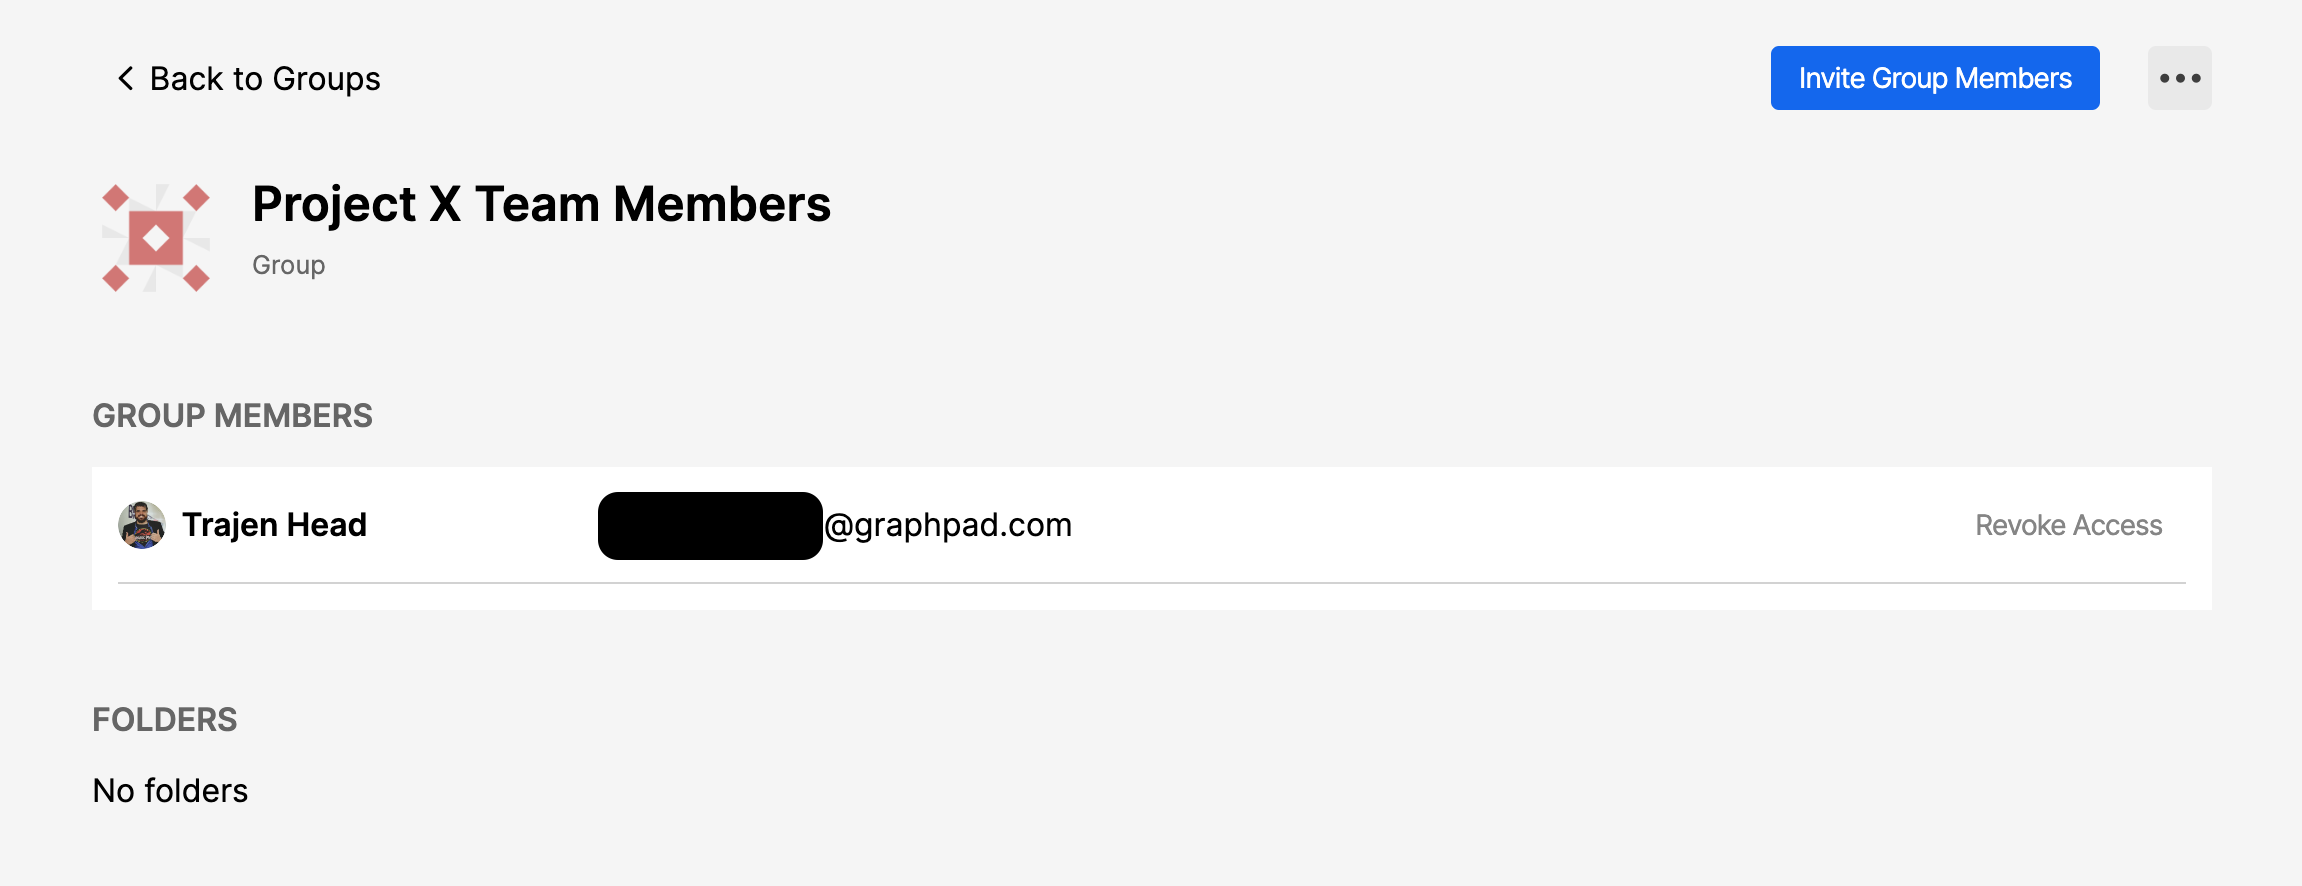
To add additional workspace members to an existing group, start by clicking on the Group tile on the Groups main page. This will bring you to the Group details view. Here you'll be able to see the existing members of the group, and any folders that have been shared with the group. To add a new member, click the "Invite Group Members" button at the top right.
In the dialog that appears, start typing the name or email address of another workspace member, or choose from the list.
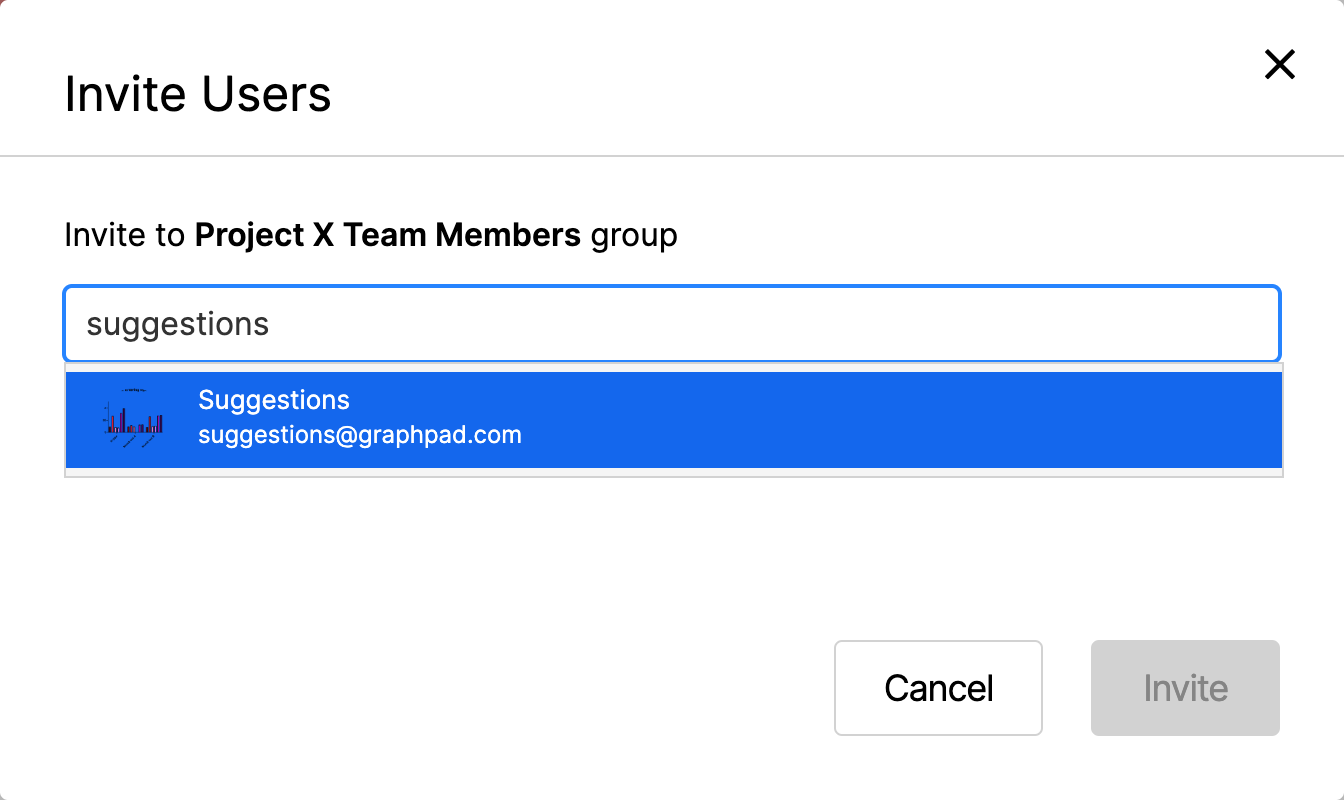
After selecting the members to add to the group, click the "Invite" button. These users will receive an email letting them know that they've been added to this group. Note that any user added to a group may choose to later leave that group with the exception of the group creator.
Deleting a Group
Only the Group creator is able to delete a group. To do so, enter the Group details view, then click the "..." button next to the "Invite Group Members" button in the top right corner of the details view. From this menu, select "Delete Group", then confirm your decision by clicking "Delete" in the dialog that appears.