Prism Cloud is only available with eligible subscriptions and in specific regions. |
Prism Cloud is the best way for you to publish your work and share it with others so that you can collaborate with them and get their feedback. This page explains the very easy process of sharing your Prism Cloud projects with others once they've been published.
Understanding Permission Roles
When sharing projects, you can assign one of two permission roles:
•Commenters can view the project, add comments to discussions, and download the file to work with locally. However, Commenters cannot push updates for this project back to Prism Cloud.
•Editors have full control and can move, rename, delete, share, or update the project. Multiple Editors can collaborate on the same project by publishing updates to the cloud.
Note that only workspace members can be assigned as Editors. Non-workspace members (guests) can only be given Commenter access.
Sharing a published project
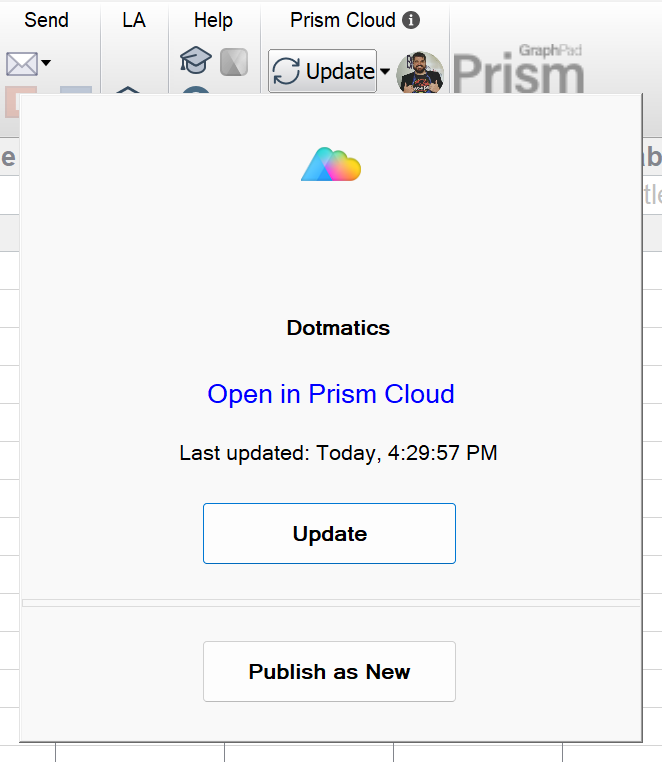
To share a project in Prism Cloud, first navigate to the project within the Prism Cloud workspace. If you just published the project from the Prism desktop application, you can open the project by simply clicking the link in the dialog displayed by clicking the Prism Cloud toolbar button.
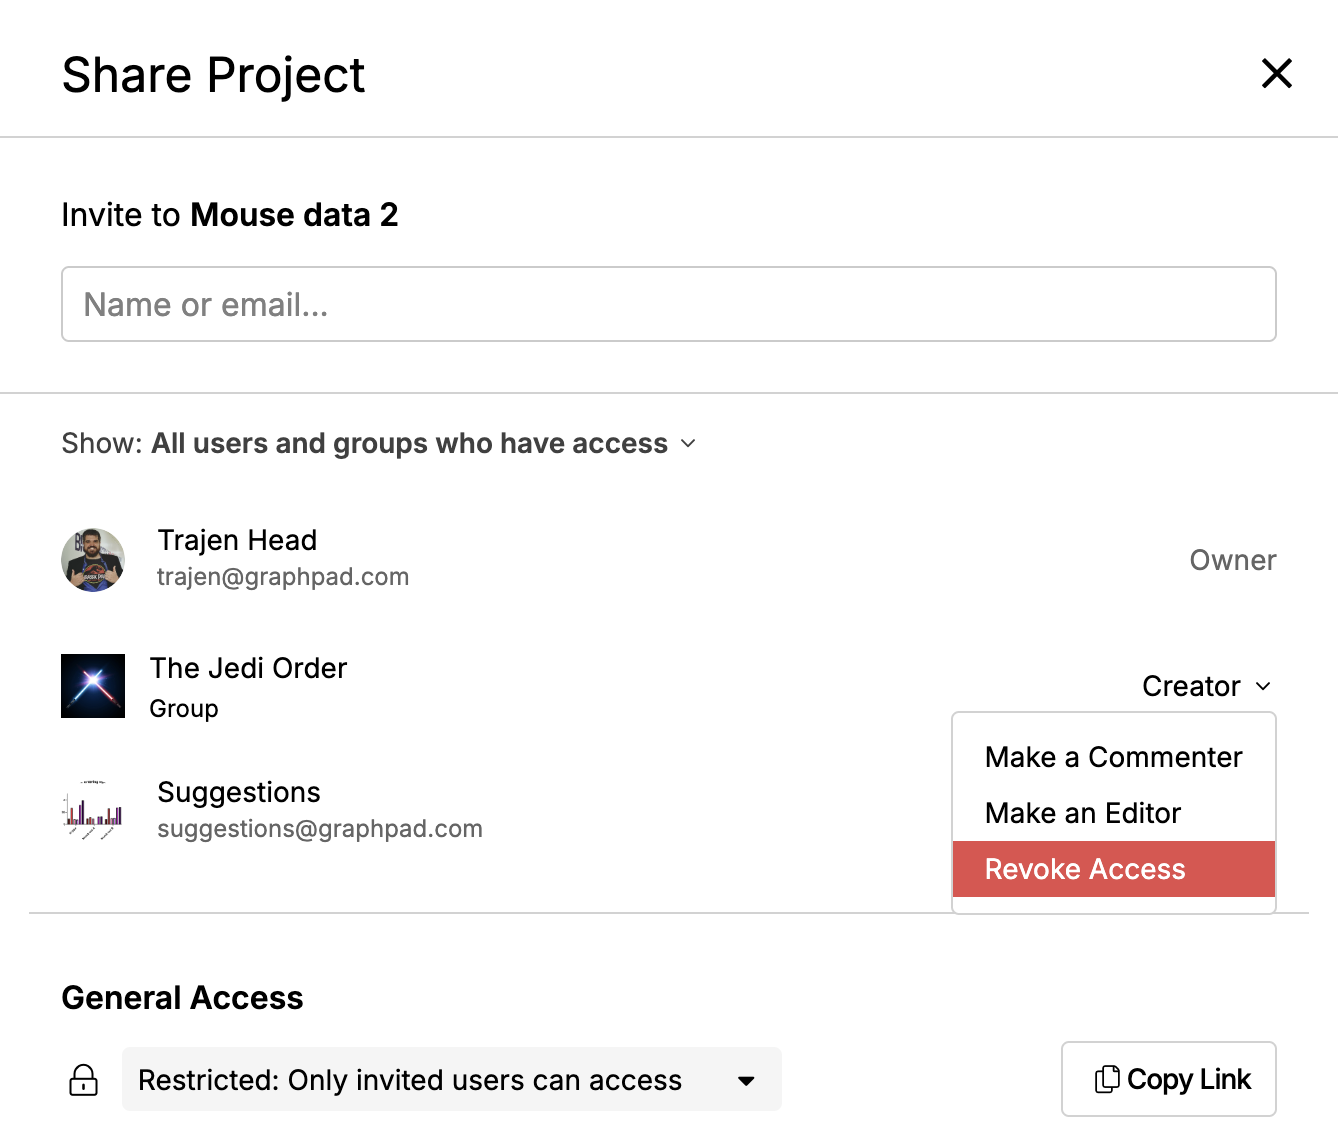
Once the project is open, click the "Share" button at the top right of the window. This will open the Share options dialog. From this view, you can see who the project has already been shared with. If the project has been shared with any Prism Cloud users that aren't members of the workspace, they will be displayed as "Guests" in this list.
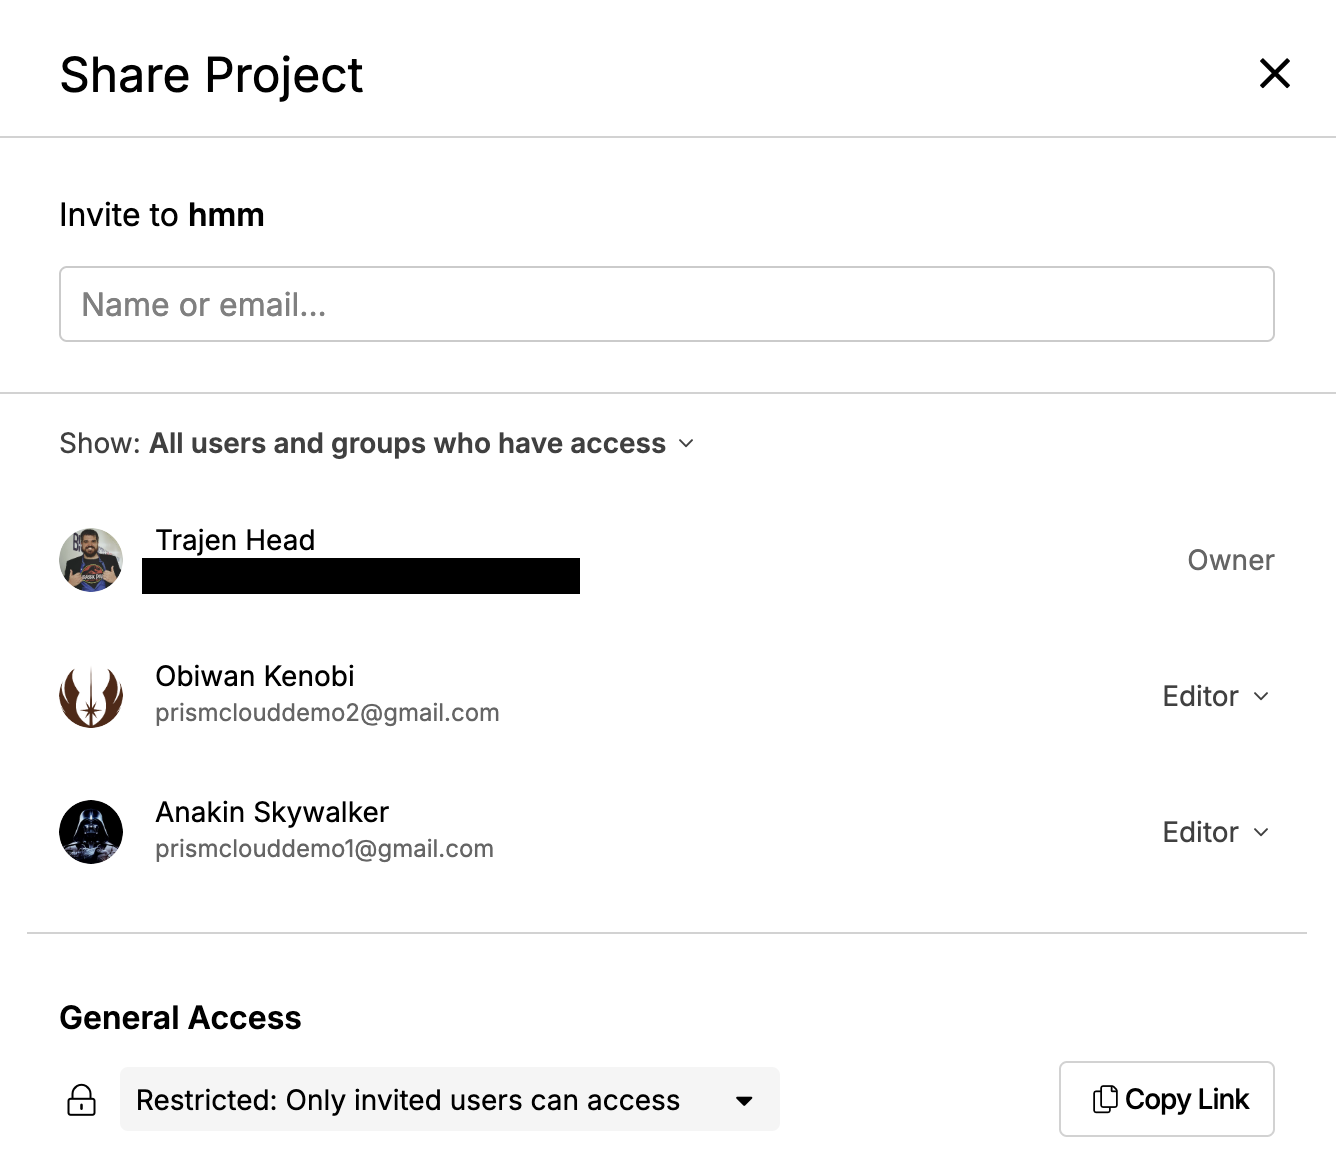
In the "Name or email..." field, type the email addresses of the individuals with which you'd like to share the project. If the recipients are members of your workspace, you can also simply search their name, and Prism Cloud will list members that match the entered name. You can also share projects with groups, allowing you to grant permissions to multiple workspace members at once. Once you've added the recipients, select their permission role (Commenter or Editor) from the dropdown menu. You may also optionally include a custom message to send along with the link to the project.
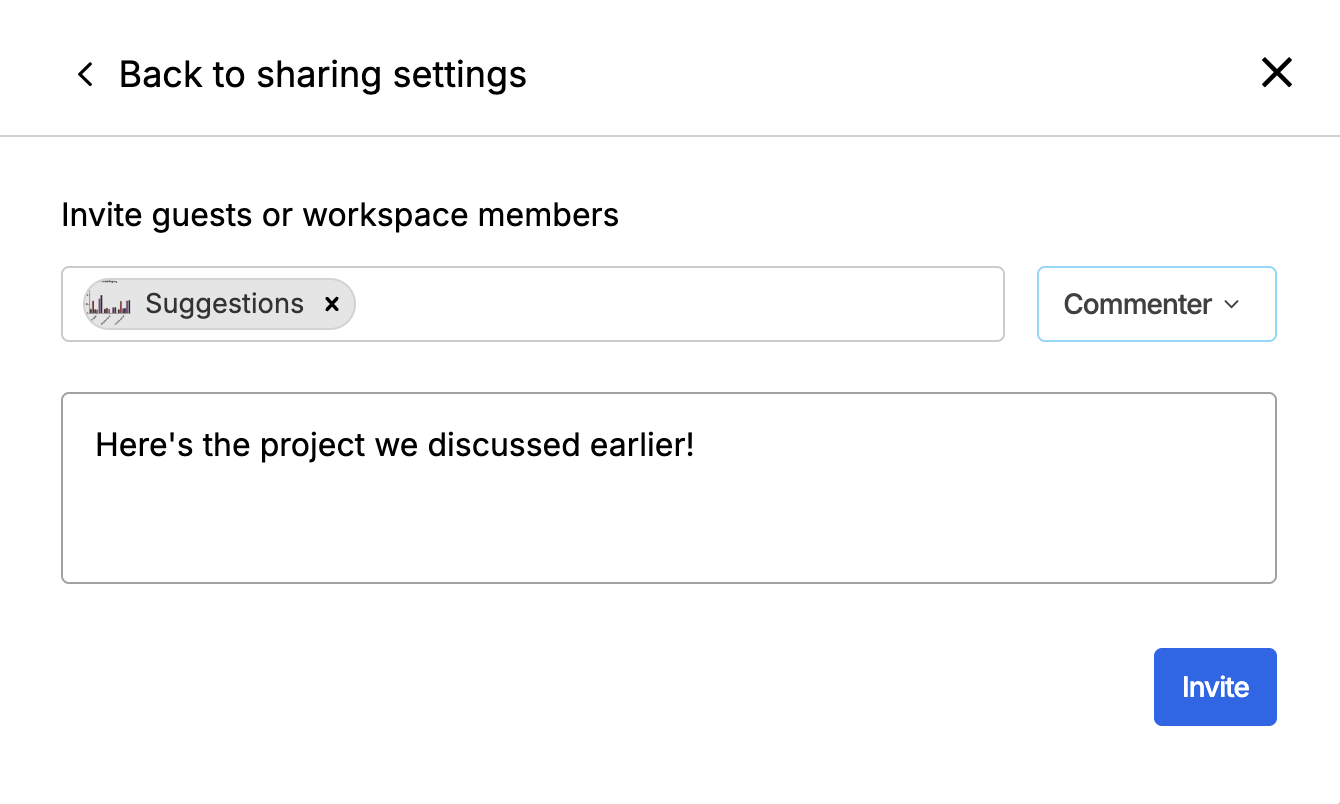
Clicking the "Invite" button sends an email invitation to each recipient that includes a link directly to the shared project. The project will also appear in the recipient's shared with me folder. Keep in mind that sharing a project will only grant permission for the recipients to see that project. Sharing a project will not grant individuals the ability to see other projects in the same folder or in the same workspace if they don't have permission to see that content already!
Once the recipients receive the link (or access the project via their shared with me folder), they can create new discussions or reply to existing discussions to provide feedback or make suggestions for improvement. You no longer need to worry about emailing Prism files back and forth and making sure that everyone has the right version!
Additional information for sharing
Inviting individuals without a Prism Cloud (GraphPad.com) account
When sharing a project with someone that doesn't have a Prism Cloud (GraphPad.com) account, the recipient will be required to create an account before being able to view the shared project. However, once they've created their free Prism Cloud account, they'll be able to access the project that you shared.
Sharing a URL instead of inviting individuals
At the bottom of the share dialog, the URL of the project being shared is provided. As long as the project was published to a common folder in your workspace, you may simply copy and send this URL. However, there are a couple of restrictions when sharing projects this way. If the project is in your personal folder, no one will be able to access this link (the only way others can see projects in your personal folder is if you add them as shared users as described above). If the project is in a common workspace folder, other members of your workspace will be able to access the project, but guests will not be able to! Finally, by adding shared users instead of just copying/sending the URL, your project will be added to the recipients shared with me folder. This makes it much easier for others to keep track of projects that have been shared with them instead of trying to find the URL again later.
Another way to access the share options
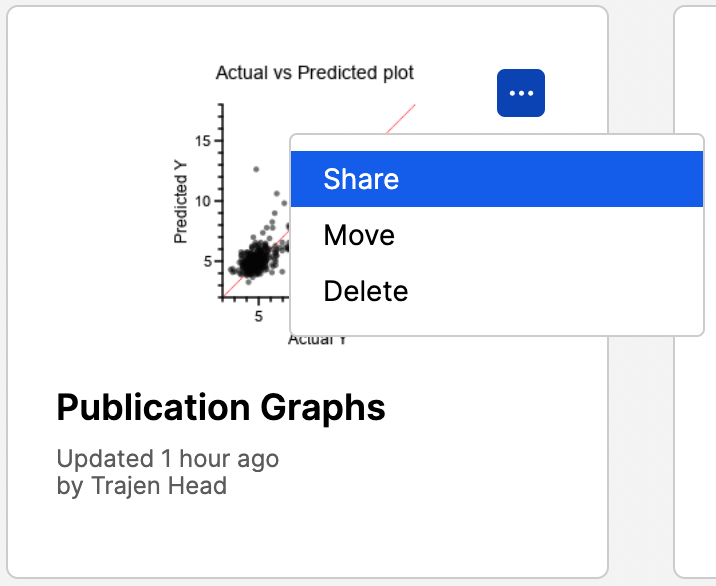
When looking at a folder of projects within a workspace, you can click on the options menu at the top right corner of a project tile to bring up some additional actions such as "Share", "Move", or "Delete". Choosing "Share" will bring up the same share options as described above.
Occasionally, you may decide that you need to remove shared access to your project for one or more individuals. To do this, start by opening your published project then click on the Share button in the top right corner. Find the person you'd like to remove in the list of shared individuals and click the dropdown menu beside their role (for example "Commenter" or "Editor"). Then simply click "Revoke Access". This will remove the person from the shared list, and your project will no longer appear in their shared with me folder.